INFyO
Abstract:
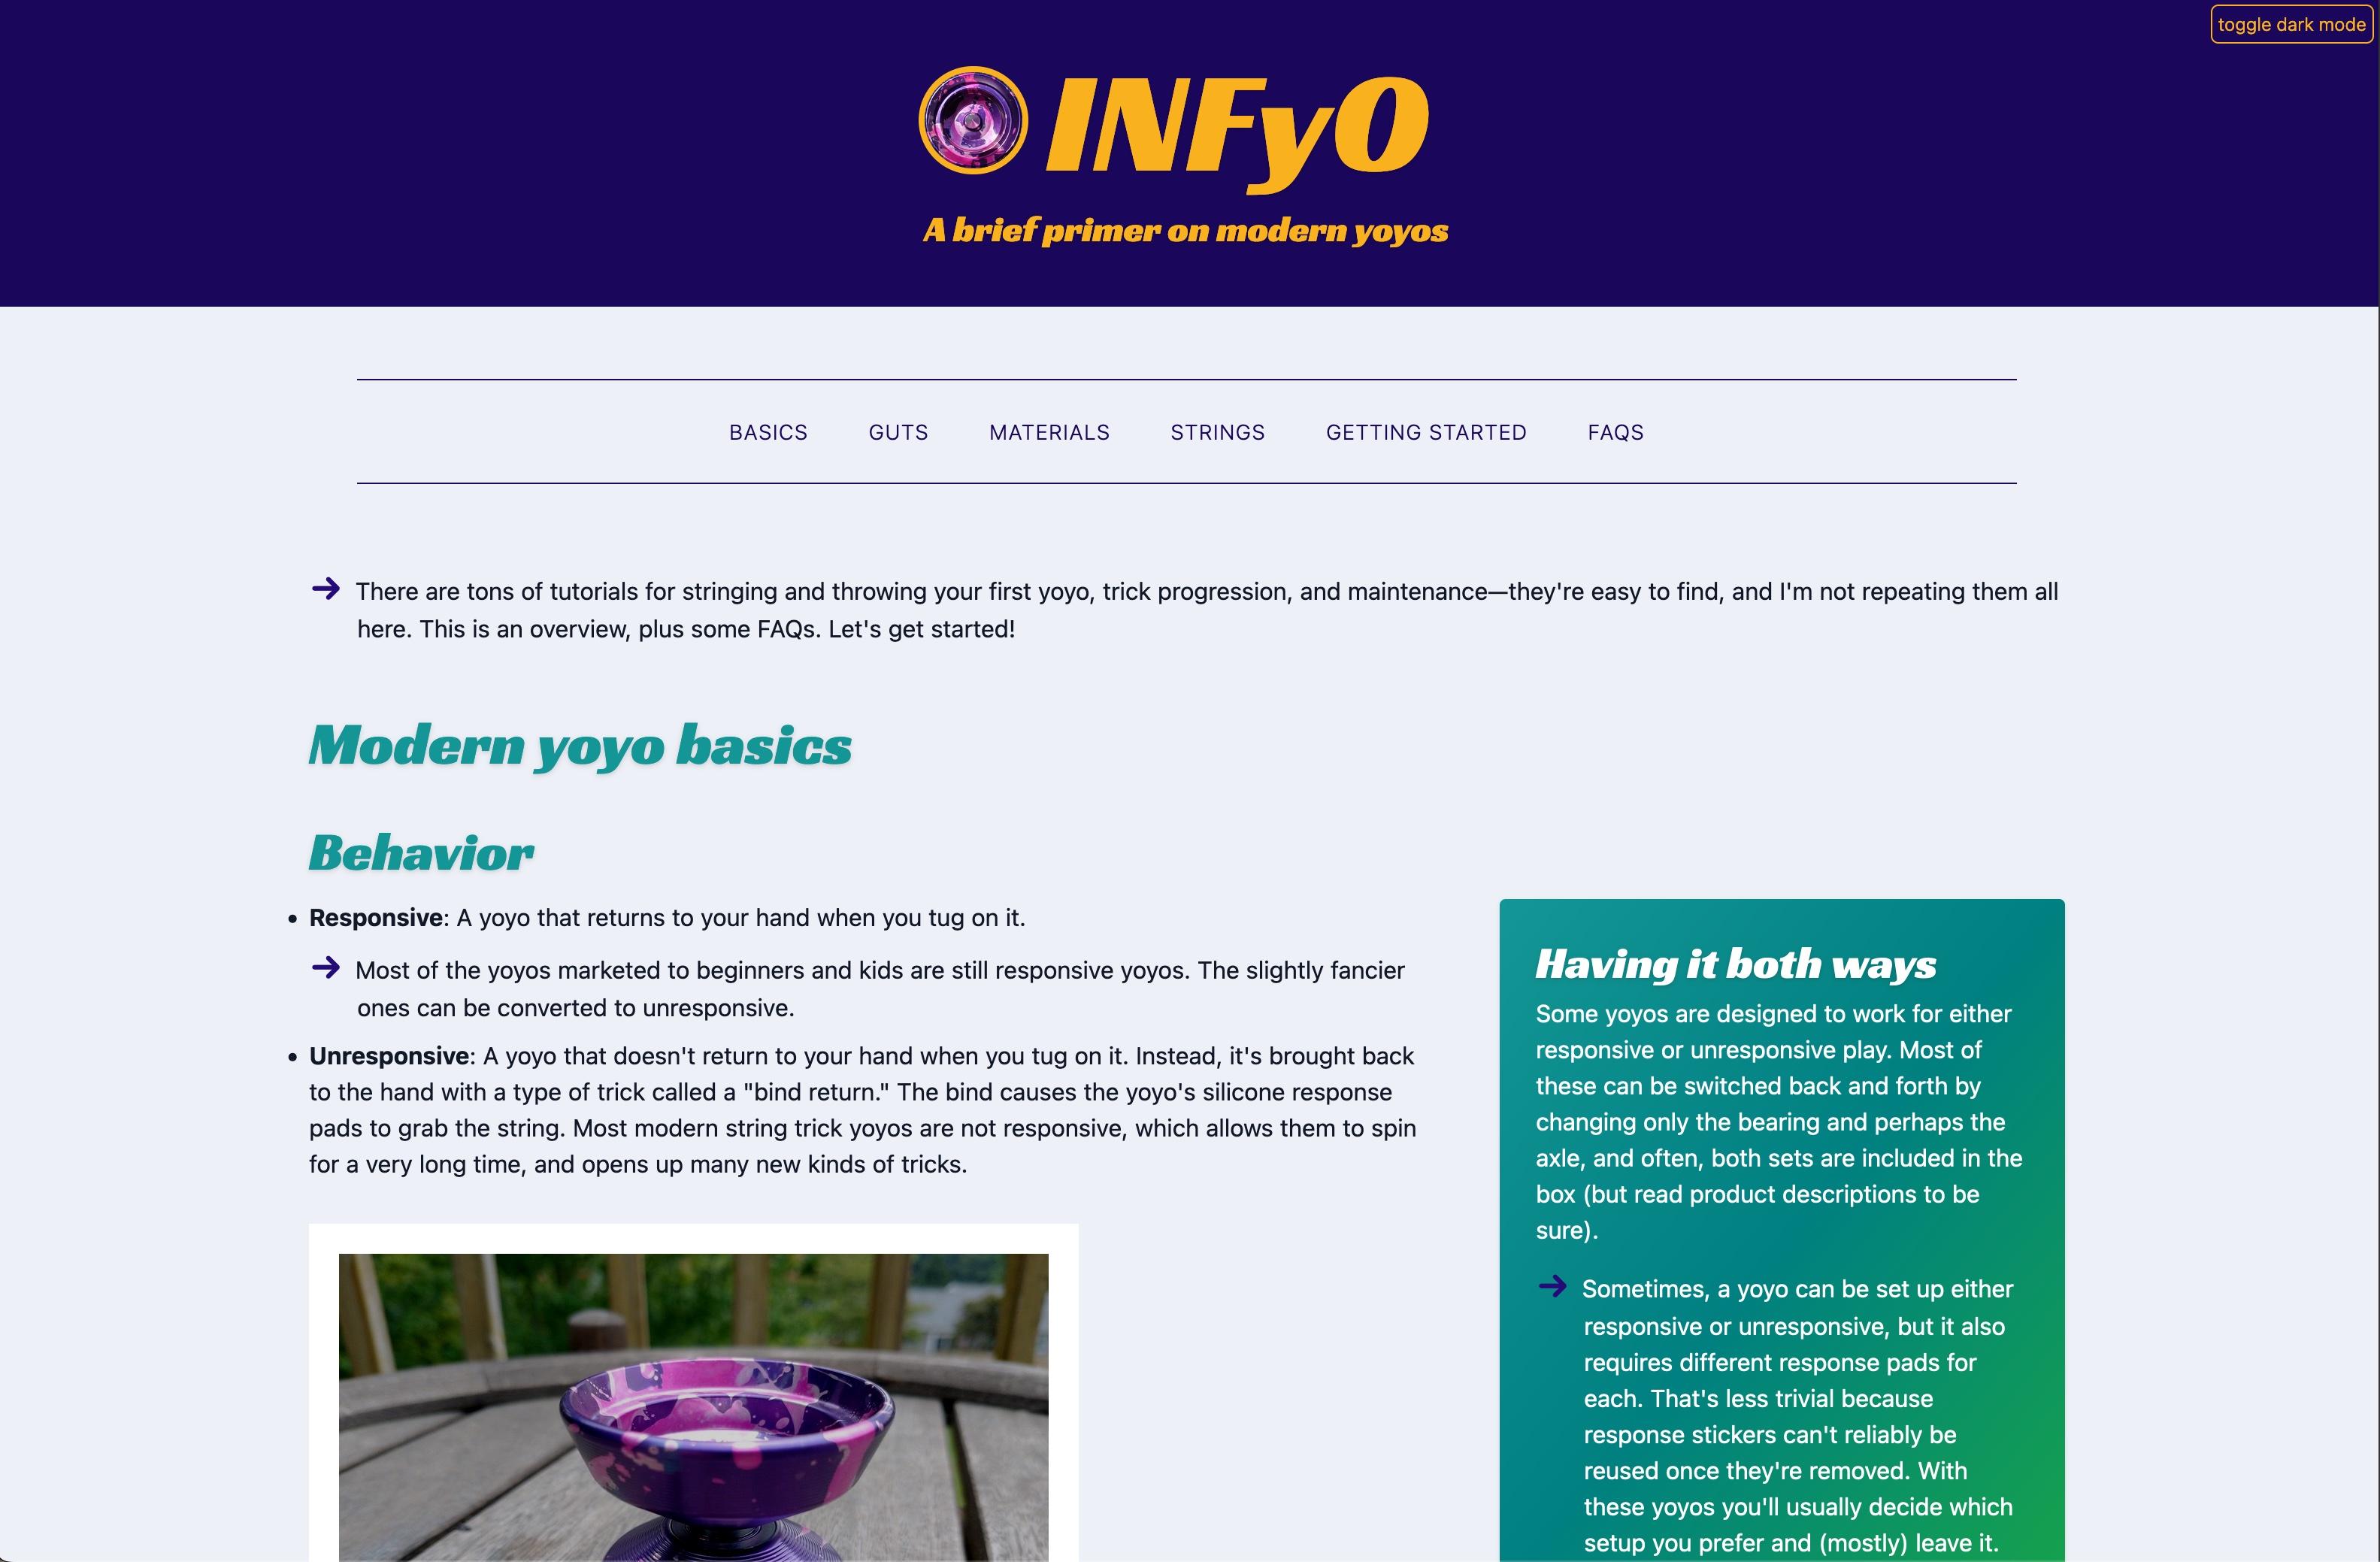
My own explainer about modern yoyoing, using React and Tailwind.
Built with:
Mobile-first workflow, semantic HTML, Flexbox, create-react-app, Tailwind CSS, darkmode functionality
Intro
This was the first project I built after completing a beginning frontend web developer curriculum online. I was keen to build an original site of my own, as well as try out Tailwind and a JavaScript framework. There are things I’d do differently now, but the site still works.
React
I’d done a React basics course, and had the official documentation close to hand, but didn’t understand it nearly as well as I do now (I’m working my way through Josh Comeau’s “The Joy of React”, and I recommend it.) Overkill for such a simple site? Maybe. On the other hand, at the time at least, the tooling for create-react-app worked pretty well and I was able to find answers to questions like how to get Tailwind installed and how to build and deploy to Github Pages. Since then, I’ve built several one-off practice projects using what should have been simpler tools, but sometimes had problems configuring them from outdated, patchy, or nonexistent documentation.
Also, I’m not really sorry I dipped my toes in a framework that early.
One of the main things I’d change about INFyO (for example, if I decided to expand it) is that I’d break up the index.js page one way or another, even if I kept the public site itself to one page. Currently it’s mostly all in one giant document, aside from a few obviously reusable components like the navigation, aside boxes and image layouts. This is partly an artifact of writing and designing the site at the same time—crafting styles to suit each content section I had and then looking for ways to reuse them later—while not realizing how long and unwieldy it was going to get. The simplest solution would be to keep it as-is but split it into separate js files for each content section, just to make it easier to manage.
If I had it to do over again today, I would probably write the content in a series of mdx files. But, that’s the difference between just-finished-my-fewd-courses me and current me.
There are a few characteristically React components here, though. For example, there was one section where I wanted the aside box to float right at larger screen sizes (so that the main content would wrap around it), but stop floating and go to the end of the section at smaller screen sizes. To accomplish this, the aside box is shown in one position and hidden in another, depending on the screen size.
import Img from './img';

function AsideFloat( {id, title, content, pointContent, src, alt, caption, floated} ) {
    const classes = `box ${floated === "true" ? 'box-float' : 'box-last'}`;
    return (
        <aside id={id} className={classes}>
            {/* etc... */}
        </aside>
    );
}
export default AsideFloat;
Then there’s CSS that does this:
@media (max-width: 1023px) {
    .box-float {
        display: none;
    }
}
@media (min-width: 1024px) {
    .box-float {
        @apply float-right ml-8 mb-4 w-1/3;
    }
    .box-last {
        display: none;
    }
}
Darkmode
My original design was the light version; then I did a bunch of reading about how to go about selecting colors for the dark version, as well as the technical side of how to actually implement it. Tailwind has its own built-in system for managing a dark theme, which by default follows only the user’s system preference (prefers-color-scheme), but can be configured to work by explicitly adding and removing a class instead.
In Tailwind, specifying the light and dark versions of an element ends up looking like this:
h2, h3, h4, h5 {
    @apply text-secondarytwo-light dark:text-secondarytwo pt-6 pb-2;
}
One benefit of using React is that I felt (however briefly) like a Real Developer when I got it to let a user toggle darkmode manually, AND check for a previously saved preference on load, AND check the system preference if there wasn’t one:
function App() {
  const localPref = JSON.parse(localStorage.getItem('darkMode')); // boolean or null
  const defaultDark = window.matchMedia('(prefers-color-scheme: dark)').matches; // boolean
  const userPref = localPref ?? defaultDark;
  const [darkMode, setDarkMode] = useState(userPref); // will turn on darkMode if evaluated to true

  useEffect(() => {
    if (darkMode) {
      document.body.classList.add("dark");
      localStorage.setItem('darkMode', true);
    } else {
      document.body.classList.remove("dark");
      localStorage.setItem('darkMode', false);
    }
  }, [darkMode]);

  return (etc...)
}
Tailwind and CSS
I remember that I enjoyed learning and using Tailwind for this project… but I’ve never used it again. Styling a page in this way does go pretty quickly once you’ve filled your head with all of the Tailwind class names, but I don’t find writing more conventional CSS with Sass, or at least the native custom properties, that burdensome. And all things being equal, I have enough terms for things to memorize already.
An interesting CSS problem I had on INFyO was creating the optional “point” styles—in my design, these are paragraphs with extra indentation and marked with an arrow. Of course, the arrow is added with a pseudo-element when the paragraph includes the class name “point.” But, it needed a lot of miscellaneous CSS styling to get it to display the way I wanted. I also decided the arrow should simply disappear on mobile, where there isn’t much room for it.
@media (min-width: 768px) {
    .point::before {
        content: "\2192";
        @apply text-secondaryone-dark dark:text-secondaryone-pale font-bold pr-2 text-2xl -ml-8 relative pl-8;
    }
}
/*
translation:
    .point::before {
        font-weight: 700;
        padding-right: .5rem;
        font-size: 1.5rem;
        margin-left: -2rem;
        position: relative;
        padding-left: 2rem;
    }
*/
The “aside” React components can also optionally include a paragraph with the “point” style and/or an image, so they use the && operator syntax to see if these have been provided before attempting to render them:
import Img from './img';

function Aside( {id, title, content, pointContent, src, alt, caption} ) {
    return (
        <aside id={id} className="box">
            <span className="boxhead">{title}</span>
            <p>{content}</p>
            {pointContent && <p className="point">{pointContent}</p>}
            {src &&
                <Img
                    src={src}
                    alt={alt}
                    caption={caption}
                />
            }
        </aside>
    );
}
export default Aside;